After Effects Book Trailer Project
For this brief, I created a series of stills in photoshop in response to
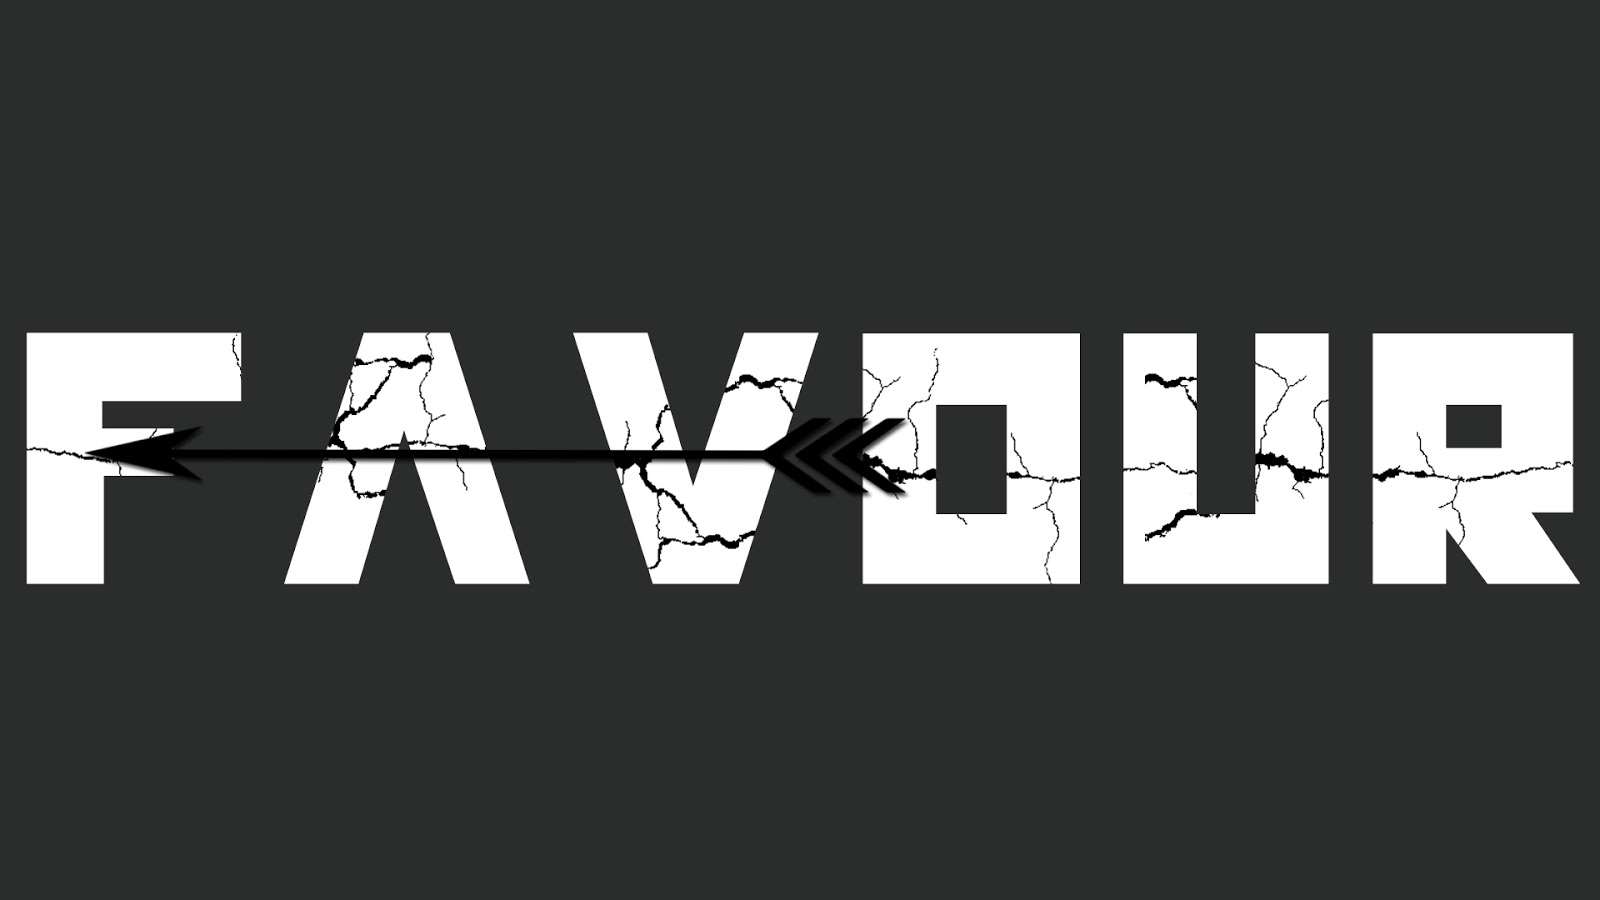
the book I have chosen "Hunger Games by Suzanne Collins" With these stills, I edited them in order to create a 10 second promotion for the book using After Effects. Throughout this session, I covered a variety of new techniques and skills such as: Importing assets from Photoshop, uses of the timeline, transitions, audio and markers. Below are a couple of my stills along with a few screenshots in After Effects to show some of the skills I learnt during this process.
I found this piece that uses music that syncs with the movement really well. It uses colour changing transitions, and small animation features which ties this piece together. This piece inspired me to include quick short flashes to my own animation.

To help me with my design and colour theme, I used the book cover as a place to start.


I imported all my files into After Effects including the free soundtrack which was downloaded from freemusicarchive.org. Once the sound track was imported and placed into the new composition, I looked specifically at the waveform of the audio. At certain points of the soundtrack, especially when the pitch would be high, using the (*) shortcut, I marked these key points as a guideline for when the frames would change throughout the animation. As shown in the screenshot above, there are markers positioned at certain parts of the soundtrack.

With the soundtrack marked and the stills imported, I started to move the layers accordingly to the audio.


Using the channel combiner, I inverted one of the stills when a key point occurred on the soundtrack.


Overall, I am extremely happy with how this animation turned out as I feel like it represents the book and its genre very well. The colour choices were limited black,grey, white and red, which were colours I took inspiration from the book cover itself. If I were to create this piece again, I would like to produce a smoother animation and in more detail of the bow and arrow. For my next project, my time management needs improving in order to complete work on time, especially for future deadlines. I can now say that I'm more confident using After Effects and believe the skills I have learnt will be useful for upcoming projects.